Floral Pumpkin DIY

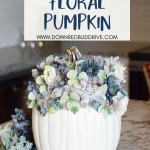

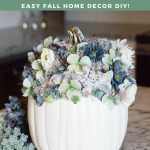

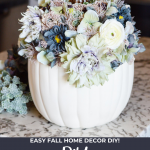

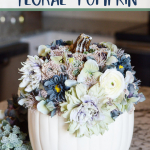

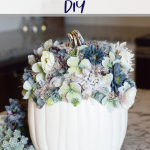

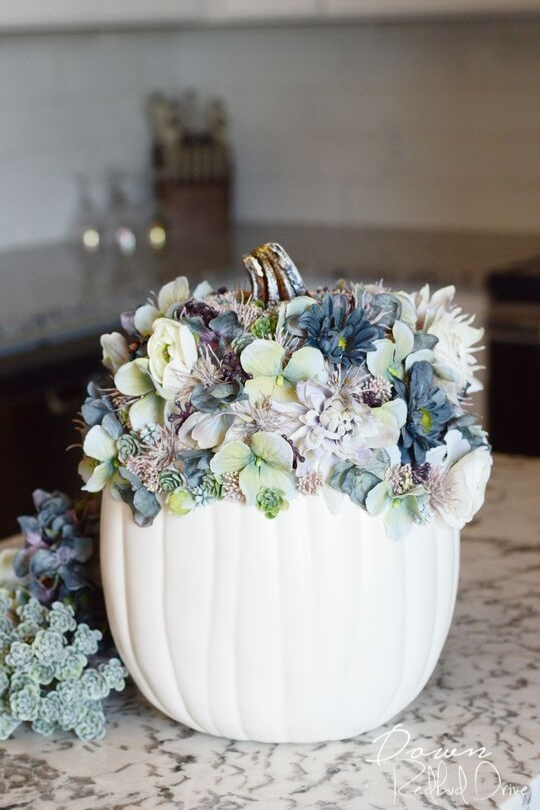
If you want to give fall a feminine touch this year, you need to make this gorgeous Floral Pumpkin DIY! Each one is so different and unique and can be customized to fit your decor!

This post may contain affiliate links. See my full disclosure policy HERE.
I’ve seen a lot of painted floral pumpkins, but I’m nowhere near talented enough to do something like that! However, I can weld a glue gun like nobody’s business! So I created this Floral Pumpkin DIY and I’m super happy with how it turned out!
How do you make a Floral Pumpkin DIY?
Step 1: Gather your supplies.
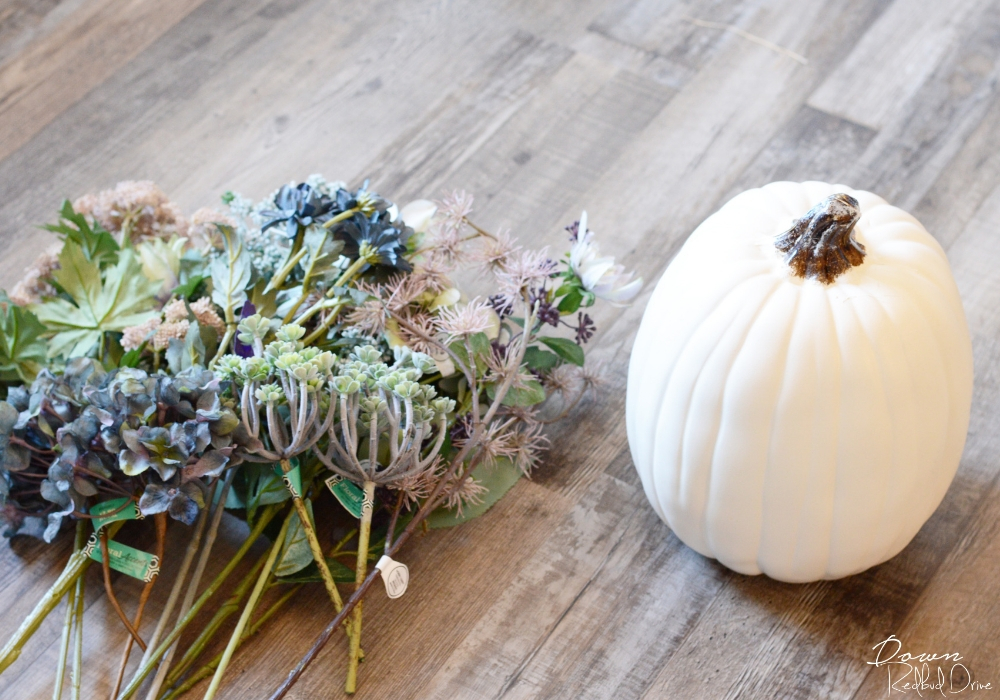

You will need the following supplies to make your Floral Pumpkin DIY:
- Fake Pumpkin ( I found mine at Hobby Lobby, but they’re cheapest at Walmart)
- Fake Floral
- Hot Glue Gun
- Scissors
- Wire Cutters
Step 2: Prepare the floral.
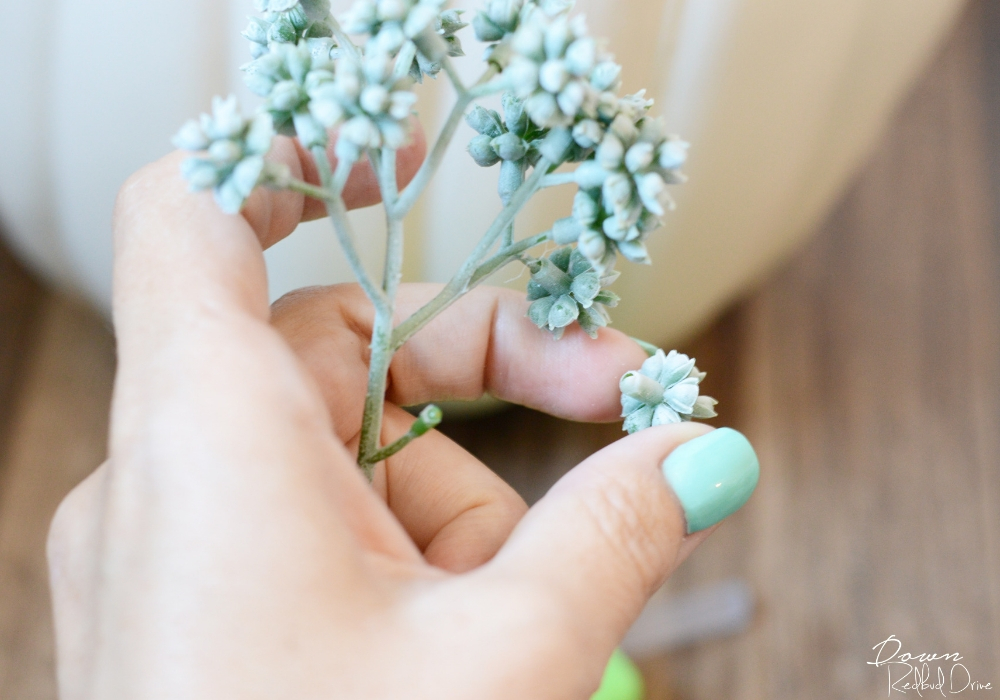

This is a long-winded craft, so the faster and more efficient you can make it, the better. To save yourself some time, pluck the heads off your floral so you can just grab and glue as needed. If you need to use wire cutters or scissors for this step you can. Just make sure the backs of each floral piece are as flat as possible.
Step 3: Start gluing.
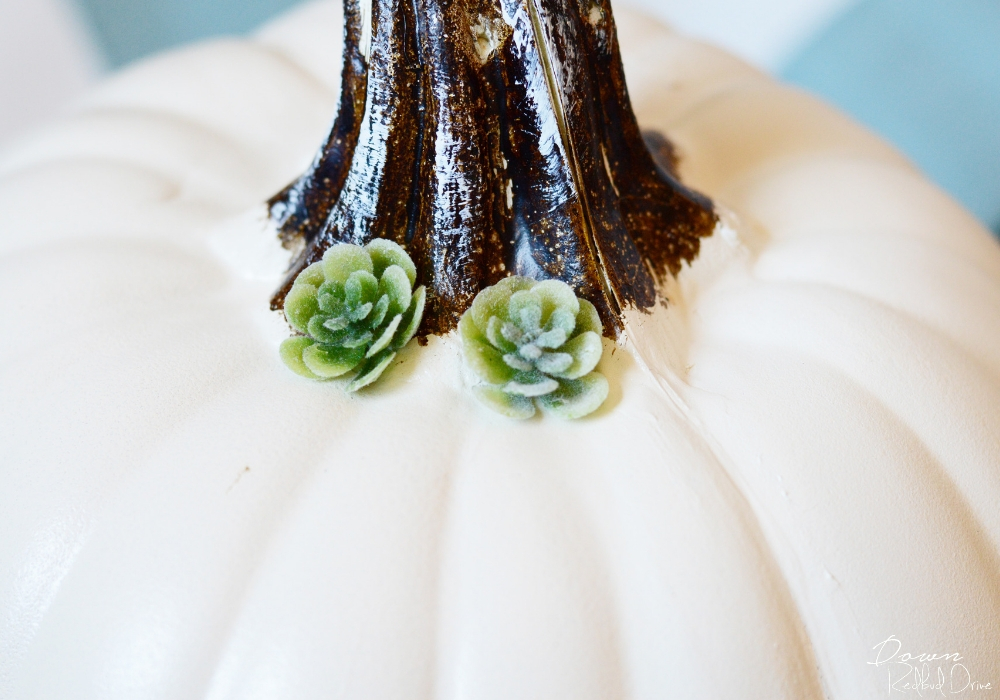

The best way to start this Floral Pumpkin, is at the top, by the stem. Start here and glue small floral pieces in the little crevices and grooves of the pumpkin. I love these little succulents.
Step 4: Create a pattern – or don’t!
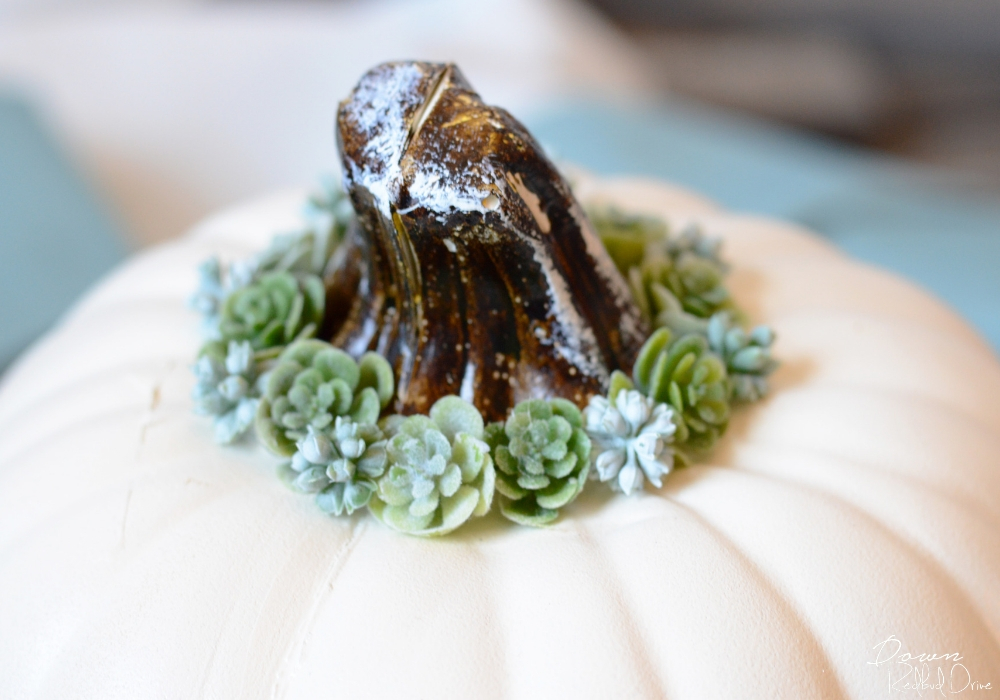

The only thing I knew when I started gluing these flowers on, was that I wanted the Floral Pumpkin to look full, and not empty and sparsely covered. Keeping that in mind, I used hot glue to glue one piece at a time on. I filled in the holes as I went.
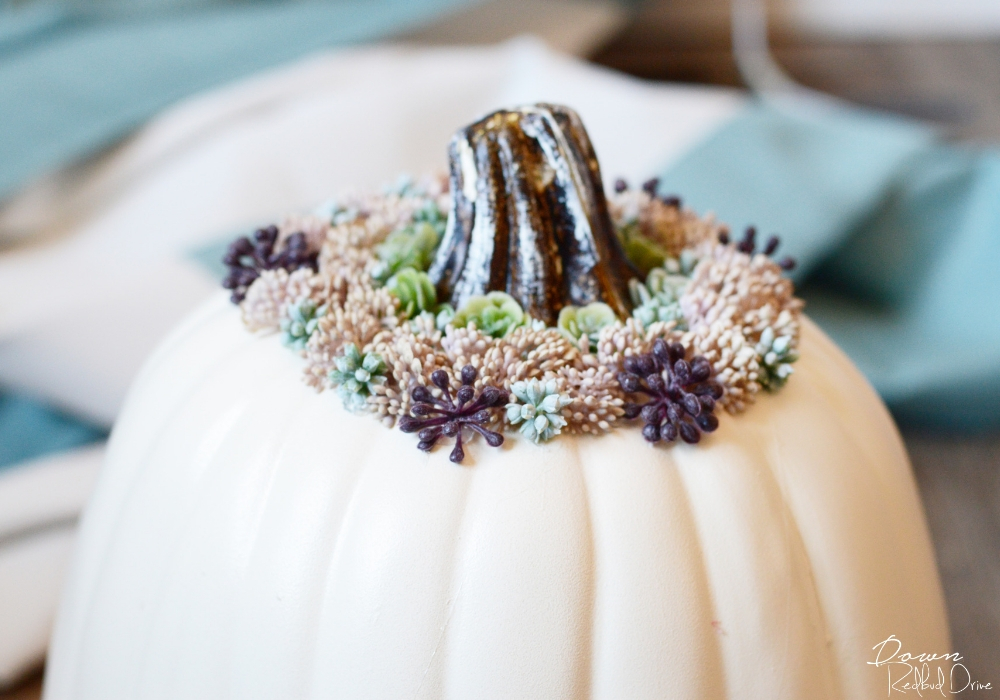

I found myself creating a pattern, but you don’t have to do that. You can fill it up all willy-nilly, or you can go in a consistent pattern. The choice is yours!
PRO TIP: Use a fair amount of glue, and hold each piece for 10-15 seconds before moving on to the next to make sure they are securely attached to the pumpkin.
Step 5: Continue down the pumpkin.
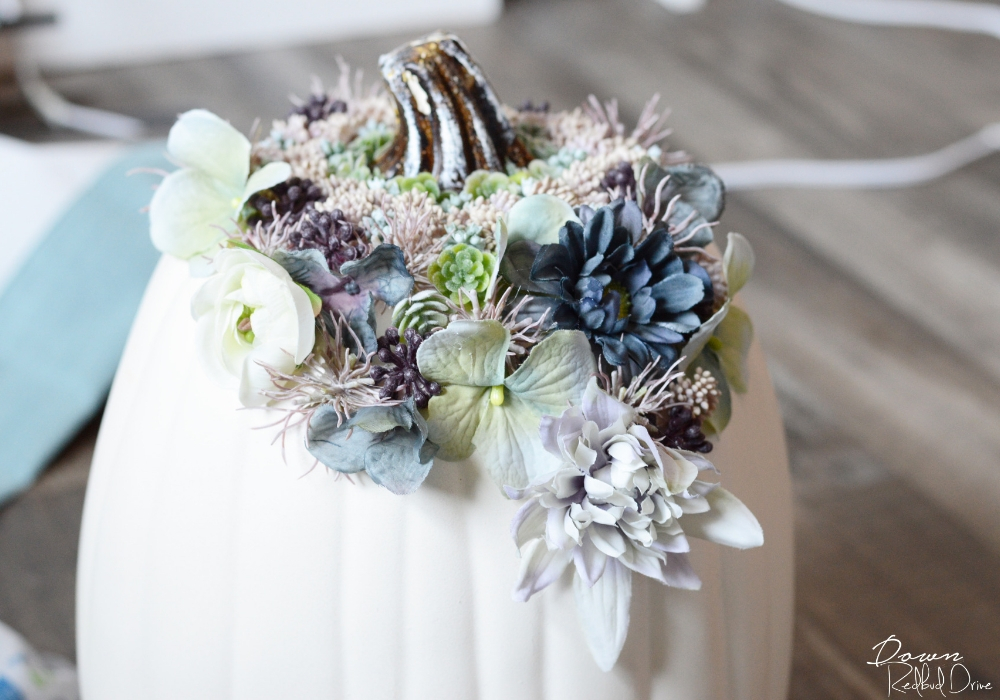

As you move away from the stem, don’t be afraid to use bigger flowers. If you want to keep it small and dainty, that’s fine too. I like big and bold patterns and decor, so I used some bigger flowers to make my design pop.
PRO TIP: Make sure to get several different types of flowers and plants to create this Floral Pumpkin DIY.
Step 6: Fill any gaps.
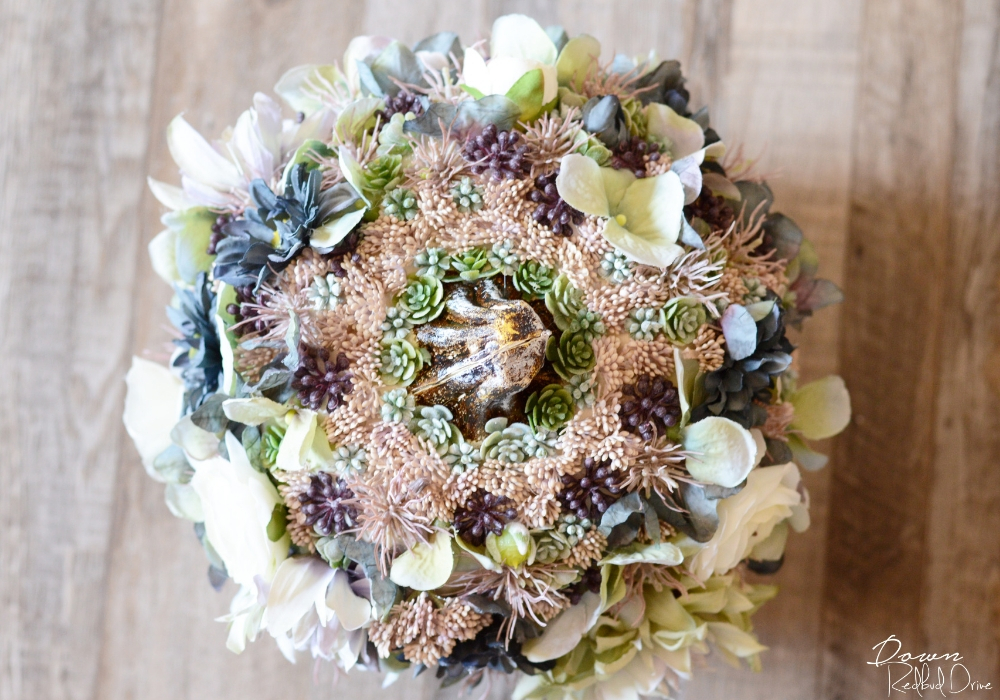

This is what my floral pumpkin looked like from above when I was finished with it. Be sure to check all over for any gaps in the floral, or for any loose flowers, so they can be glued securely before declaring your project finished.
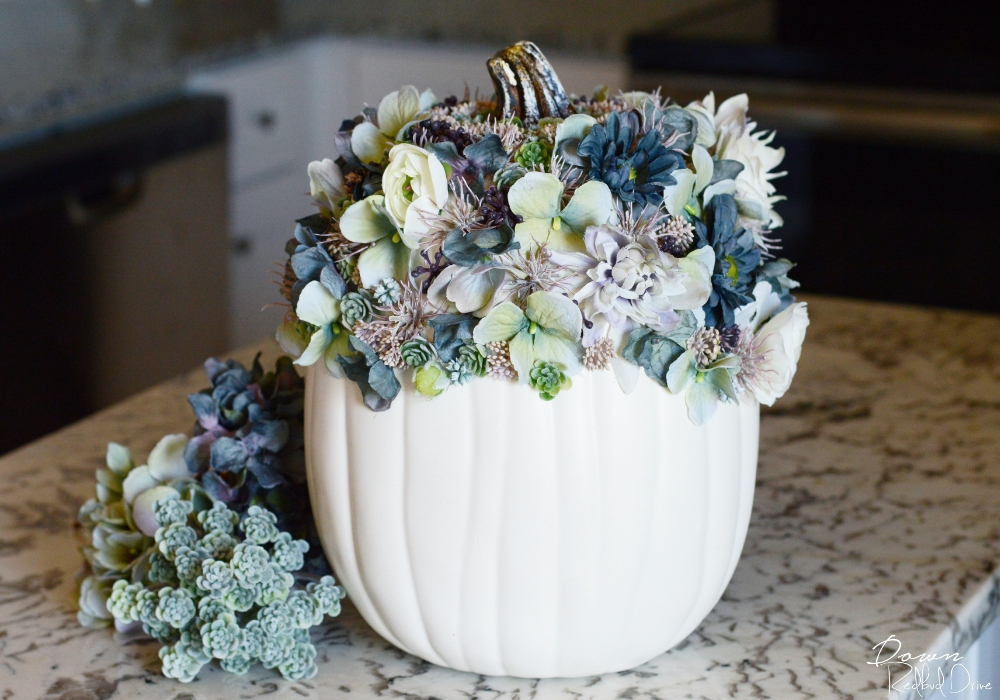

This is my official finished product. I opted to go about halfway down my pumpkin, so you could still tell it was a pumpkin (and because I’d spent a couple of hours on this and was tired of gluing flowers haha), but you could do more or less depending on the look you’re going for.
Want some more fall decor you can DIY?
- Mason Jar Lid Pumpkins – these are one of my favorites! They come together quickly, and they’re so easy to customize!
- Embroidery Hoop Pumpkins – these turned out so cool and I’m super glad I decided to create them! Easiest fall decor DIY ever!
- Pumpkin Wreath – this wreath doesn’t take a ton of cutting, and gluing, and wiring, but looks like an adorable pumpkin you can hang on your front door!
What colors and kinds of flowers will you use for your Floral Pumpkin DIY? The colors and types are endless, and I can’t wait to hear about what you create!


