DIY Hocus Pocus Wreath










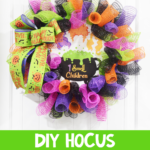

This DIY Hocus Pocus wreath is based off my favorite Halloween movie! This easy Halloween wreath is so simple to make, and is the perfect statement piece for your front door!


This post may contain affiliate links. See my full disclosure policy HERE.
Halloween movies is one of the best parts of fall, and we love them! Hocus Pocus has been my favorite since I was a little girl, and I’m so excited about the second movie coming out!
I wanted to make a Halloween wreath that was fun and spooky but also full of life and color, so this Hocus Pocus mesh wreath was born!
This wreath uses a super simple mesh wreath technique, and it’s foolproof! Even if you don’t have a lot of crafty skill, you can make this one!
I used to think mesh wreaths were so hard because of how much they sold for locally and on Etsy, but now I make them all the time and post the tutorials for you here so you never have to buy one again!
I’ve made and posted deco mesh wreath tutorials for the following wreaths:
- Leprechaun Hat Mesh Wreath
- Easter Mesh Wreath
- Easter Deco Mesh Wreath
- Summer Deco Mesh Wreath
- Patriotic Deco Mesh Wreath
- American Flag Mesh Wreath
- Mesh Pumpkin Wreath
- Thanksgiving Mesh Wreath
- Christmas Mesh Wreath
How do you make this DIY Hocus Pocus wreath?
Step 1: Gather your supplies.
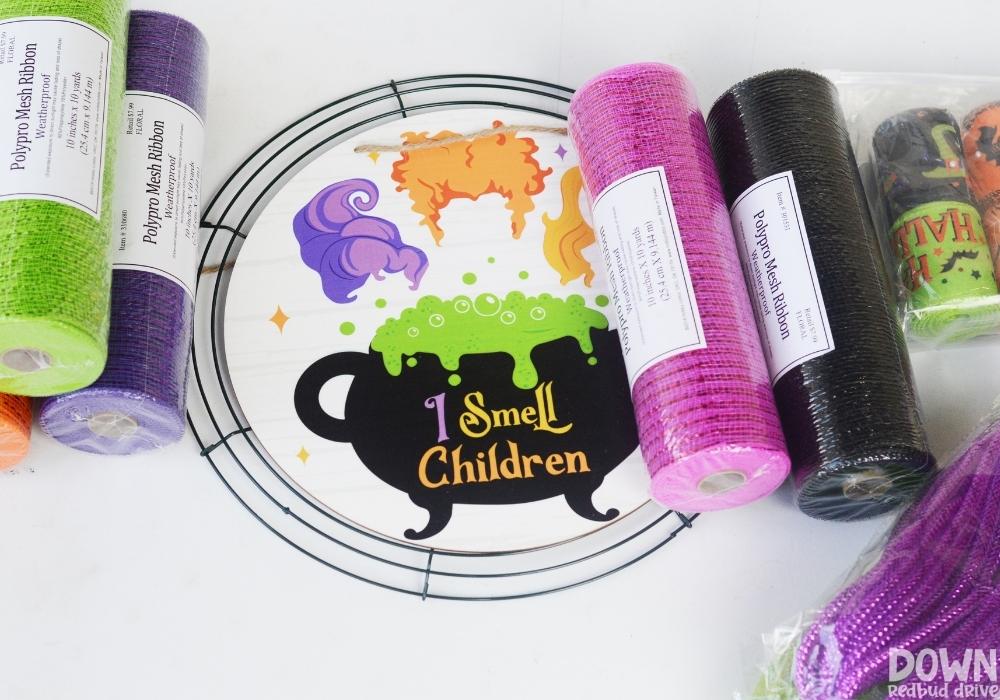

You will need:
- 12″ Wire Wreath Frame
- Pipe Cleaners
- 10″ Deco Mesh (I used orange, lime green, purple, bright pink, and black)
- I Smell Children Sign
- 2 1/2″ Wired Halloween Ribbon
- Rotary Cutter
- Cutting Mat
- Scissors or Wire Cutters
Step 2: Place pipe cleaners on your wreath frame.
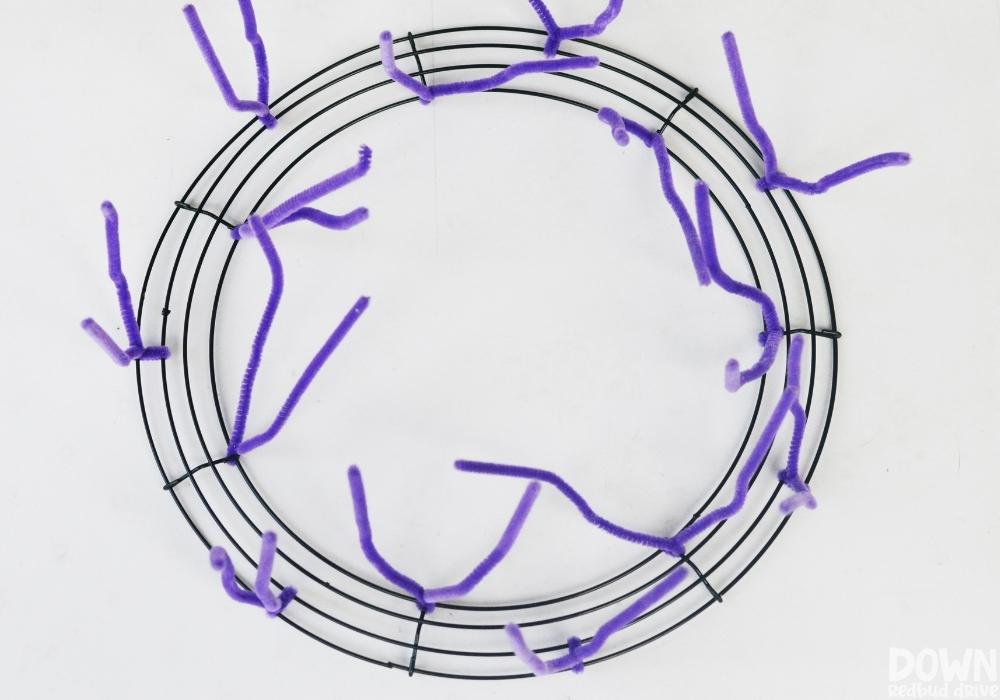

Twist pipe cleaners onto your wreath frame. Alternate your pipe cleaners on the inside and outside of the circle. Twist them on tightly 2-3 times each.
Use a color of pipe cleaner that coordinates with the mesh you bought!
Step 3: Attach your sign to the wreath.
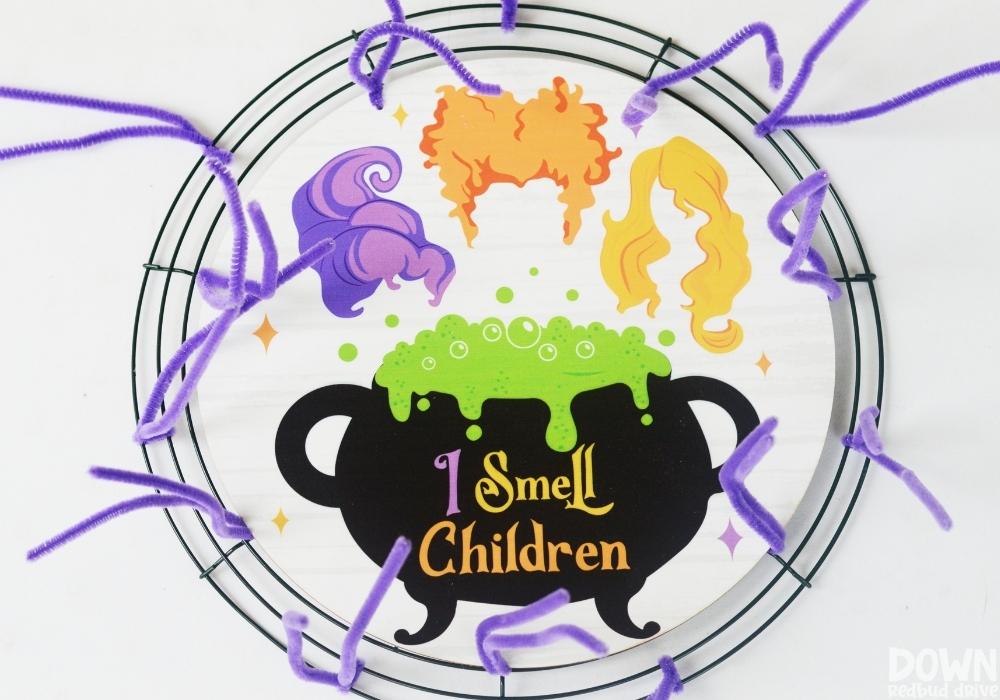

The Hocus Pocus sign I found on Amazon was absolutely perfect! It came with a twine hanger and and two pre-drilled holes in the top of the sign.
I removed the twine and used pipe cleaners to attach it to the wreath frame. If you wanted to add another hole or two at the bottom, you could use a drill to do that, but mine held fine and sat well without doing that.
Step 4: Cut out your deco mesh.
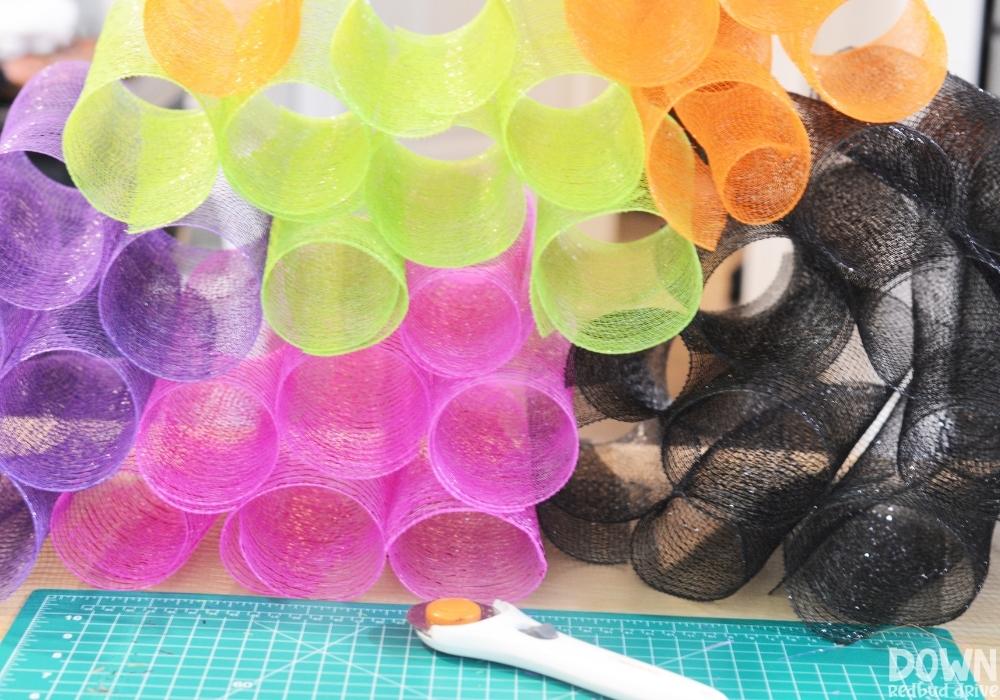

Next comes the task that takes the longest: cutting out the deco mesh strips. I had 14 pipe cleaners attached to my wreath, and 5 colors of mesh.
I decided to to cut 14 black sections at 10″ long each, and the 7 sections of each additional color.
Use a rotary cutter and a cutting mat to do this the most efficient way! I usually do this with a tv show playing in the background, since this can be a tedious task.
No need to make these rolls, they will happen naturally and will be helpful in our design!
Step 5: Attach the mesh to the wreath.


For my first “layer” of mesh, I attached my 10″ rolls to the pipe cleaners, using only the 4 colors and not the black. Spread out your colors to keep it fun and colorful!
To attach the mesh all you need to do is pinch it in the middle of the roll between your fingers, then twist the pipe cleaners around the center a couple of times to hold them in place.
Pro Tip: alternate the direction each roll is facing when attaching them onto the wreath! This will make your wreath look nice and full!
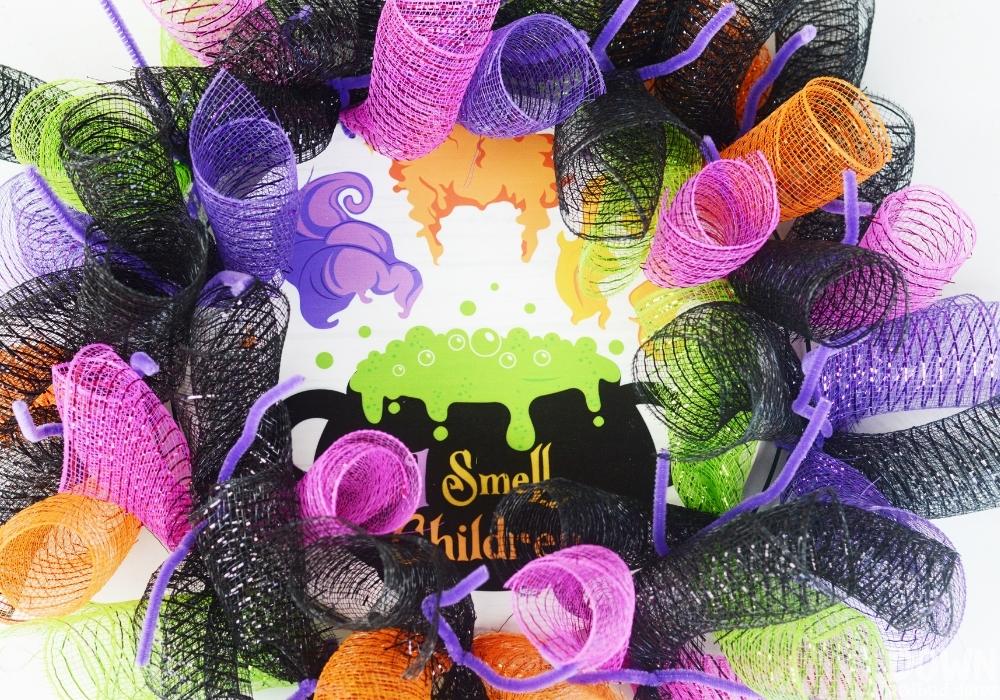

For the second “layer” I went around and attached a black mesh roll to each pipe cleaner. Adding a layer of just black with color on top and on bottom gave the wreath some dimension and provided good contrast for the bright colors.


For the last layer, I did the remaining 14 rolls I had in the four bright colors and added the sporadically on top of the black rolls.
They will all look a little crazy, but you can twist and adjust as needed when you’re finished.
Step 6: Trim your pipe cleaners down.
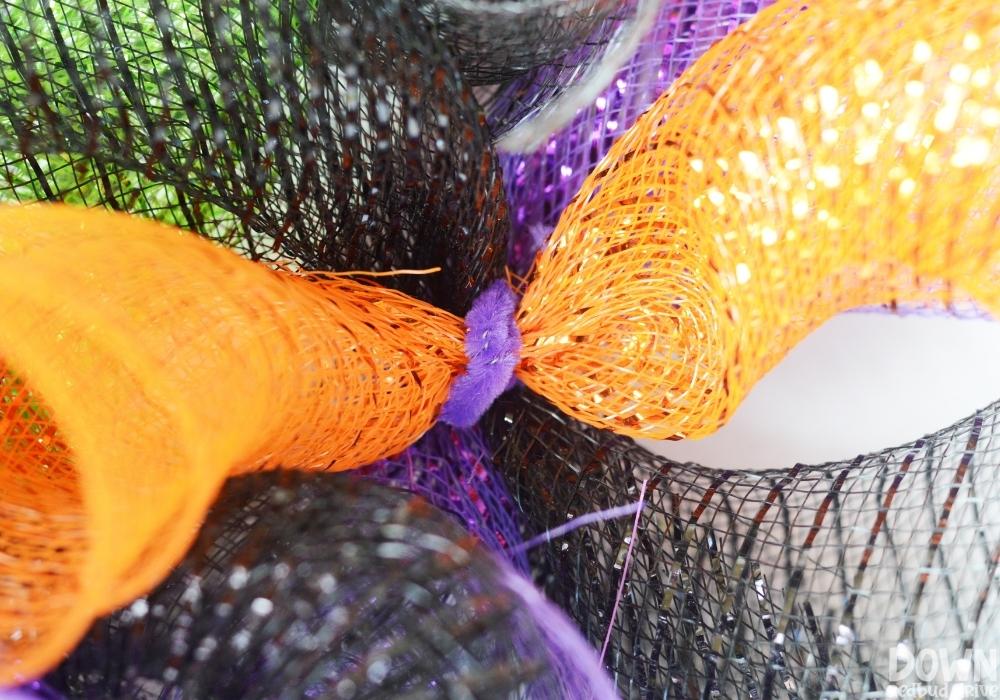

When you’re done adding the mesh to your DIY Hocus Pocus wreath, you can trim down the pipe cleaners. Use old scissors (not good ones!) or wire cutters to trim them the excess length down to about 1/4″ and then bend that in toward the wreath to make the final product look like above.
Step 7: Make and add a bow to your mesh wreath.
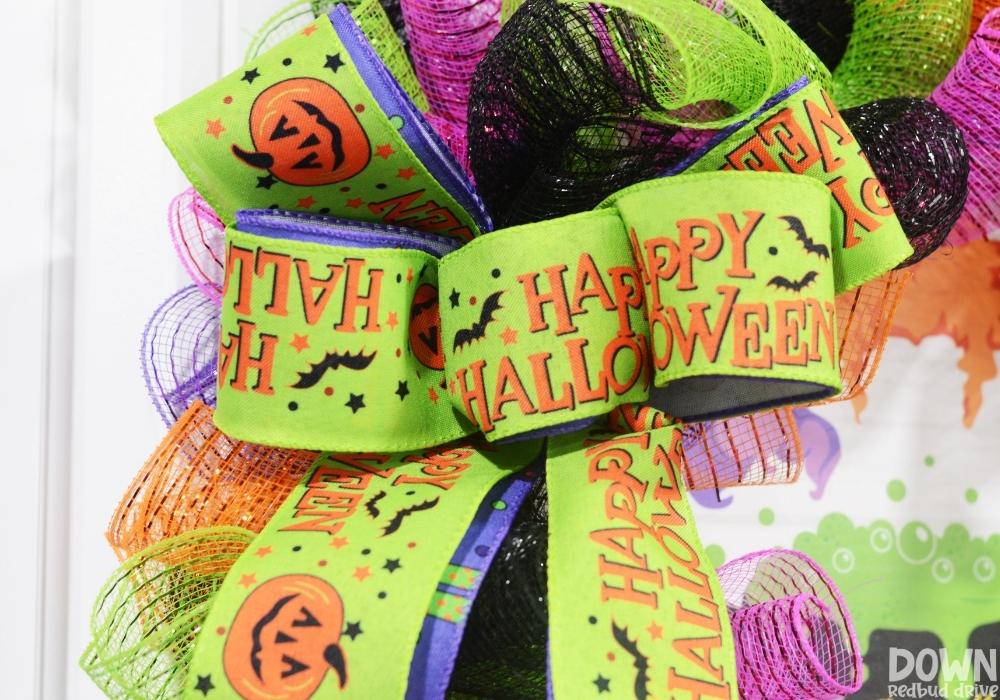

I used two different 2 1/2″ wired ribbons to make this bow. I learned how to make bows from a floral designer, but you can tie a simpler bow, or you can use this tutorial to make a big bow!
I used a pipe cleaner to twist around the center of my bow and attach it to the wreath frame.


After attaching your bow, and fluffing and adjusting the decor mesh on your DIY Hocus Pocus wreath, you’re ready to hang it up!
I used a wreath hanger and just hung it from the frame of the wreath, but you can also attach a piece of ribbon to the wreath frame and hang it that way too!
Tip for making this DIY Hocus Pocus wreath:
- Mesh. The width of your mesh matters! I use a 10″ mesh, and that’s most commonly found at stores like Hobby Lobby and Michael’s. If you use dollar store mesh, you will likely find 4″-6″ mesh which will decrease the fullness of your wreath greatly. Add 1-2 more layers of mesh rolls if using thinner mesh.
- Layers. Layers are important for making these wreaths look full and fabulous! Don’t do less than 3 layers of mesh rolls.
- Colors. While choosing the colors for this wreath are up to you, be sure to get colors that will pop alongside your Hocus Pocus sign!
- Cutting. The rotary cutter and cutting mat really are the best way to cut mesh. You can use scissors, but it takes longer and you’ll likely end up with uneven cuts.
Want more DIY fall decor ideas?
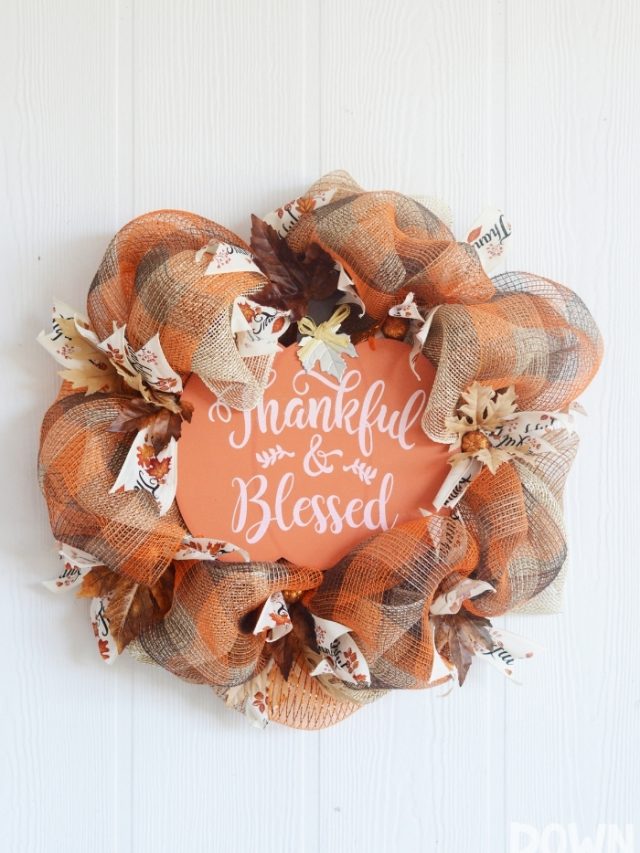





- DIY Thanksgiving Mesh Wreath – It’s a super simple tutorial and will look beautiful on your front door!
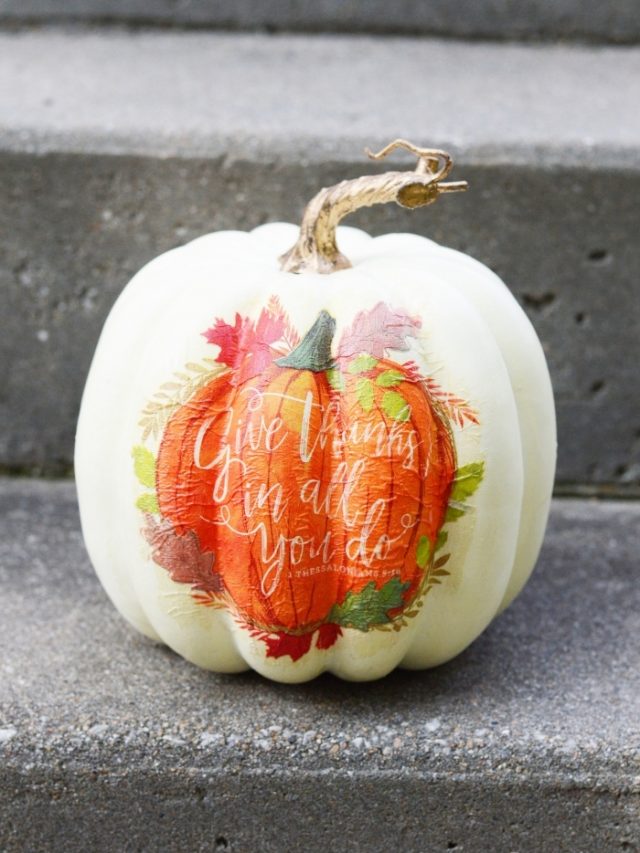
- DIY Napkin Pumpkins– They’re decoupage pumpkins using napkins and I’m blown away by how beautiful they are!
- Wood Pumpkins DIY – Make them for your house, give them as a gift, or make them to sell!
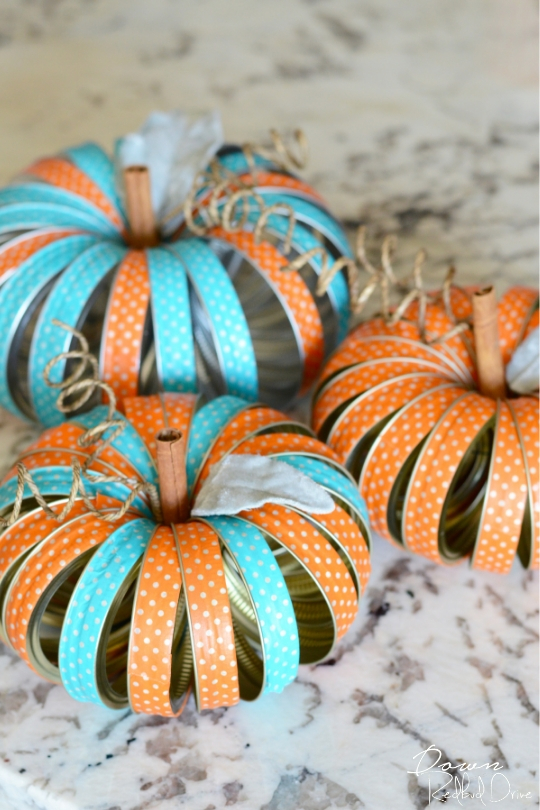
- Mason Jar Lid Pumpkins – These Mason Jar Lid Pumpkins are just the cutest fall DIY! They’re easy and fast, and even kids can help!
Whether you’re making this DIY Hocus Pocus wrath for your own front door, as a gift, or to sell, you will bring joy to whoever finds it on a front door!


